iPaintHomes helps East Valley homeowners assess stucco damage early by distinguishing harmless surface checking from cracks that admit water, loosened material, and staining. A timely stucco repair helps keep moisture from reaching the wall assembly and creates the sound, uniform surface an exterior paint system needs to last.
Table of contents
- What does stucco repair fix—and what can it not fix?
- How can you tell whether stucco cracks are cosmetic or moisture-related?
- What stucco repair method is right for the damage?
- Why should stucco repair be completed before exterior painting?
- What should East Valley homeowners inspect before booking stucco repair?
- How much does professional stucco repair cost in Arizona?
- Frequently asked questions
What does stucco repair fix—and what can it not fix?
Stucco repair restores damaged cement plaster, seals surface discontinuities, and rebuilds a stable finish, but it cannot solve an active roof, window, plumbing, or drainage leak without correcting the source first.
Stucco is a cement-based exterior plaster system. On many homes, it consists of a textured finish coat over base coats, with metal lath—a wire reinforcement fastened to the wall structure—helping hold the plaster in place. A crack, hole, or loose section is not merely a paint defect. It can interrupt the exterior’s drainage plane and give wind-driven rain a path behind the finish.
A proper repair addresses the condition present:
- Small, stable surface cracks: Often caused by curing shrinkage or minor thermal movement. These may need cleaning, flexible crack treatment, and texture blending.
- Impact holes and missing finish: Usually need loose material removed, edges undercut or squared, a compatible patch built in layers, and matching texture.
- Delaminated stucco: Delamination means the stucco has separated from the substrate or underlying coat. Hollow-sounding areas, bulging, and crumbling edges call for removal back to firmly bonded material.
- Water-related damage: Requires finding and correcting the water entry point before plaster is rebuilt. Repatching over wet sheathing, deteriorated framing, or a failed flashing detail only conceals a continuing problem.
Paint can improve color and provide a protective finish, but paint cannot reattach loose stucco, fill deep voids reliably, or dry out an active leak. That is why repair belongs ahead of repainting, not at the end of the job.
How can you tell whether stucco cracks are cosmetic or moisture-related?
Cosmetic stucco flaws are usually shallow, dry, and stable, while moisture-related damage often includes staining, softness, recurring cracks, or separation around openings and wall transitions.
Start with a close visual inspection in good daylight. Look across the wall, not only straight at it. Low-angle light makes texture changes, hairline checking, and raised edges easier to see. Then examine the most vulnerable locations: below windows, around doors, beneath rooflines, beside hose bibs, at parapet walls, near ground-level irrigation, and where stucco meets dissimilar materials.
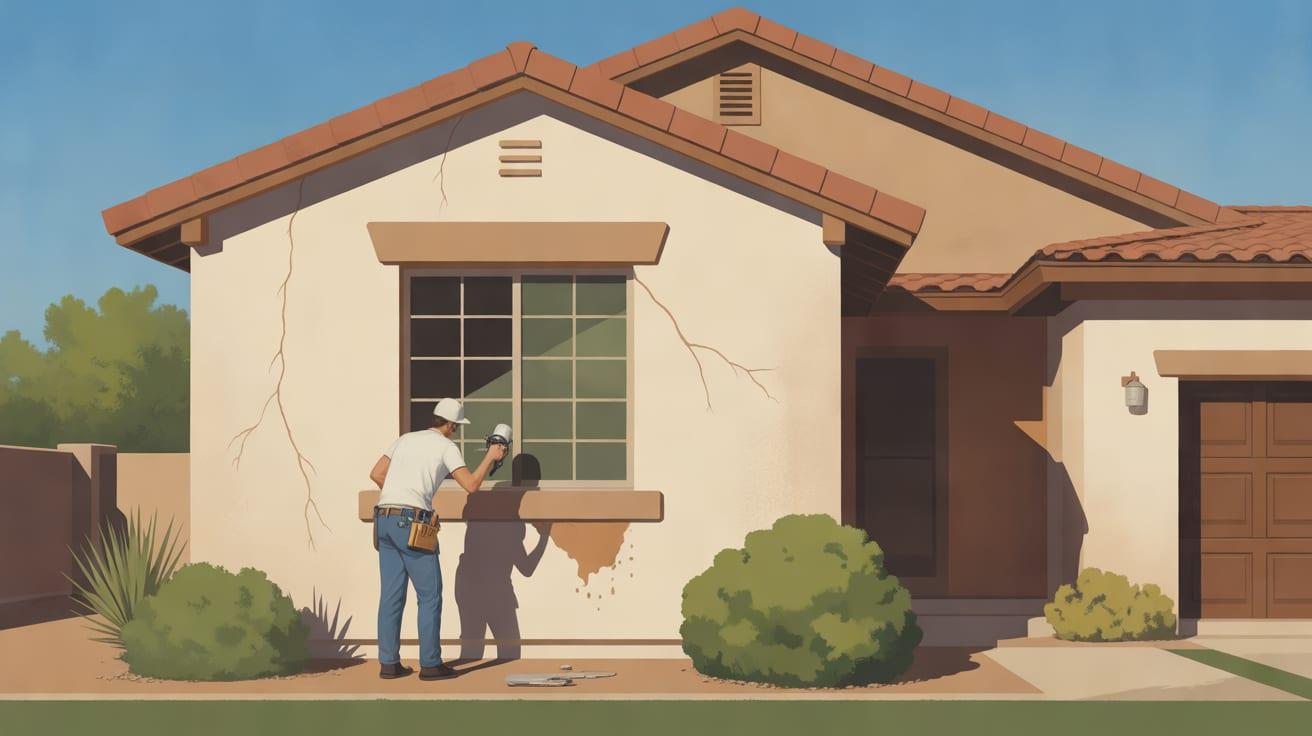
Signs more likely to be cosmetic include fine spiderweb-like checking limited to the top texture, tiny isolated chips, and hairline cracks that do not widen, stain, or feel soft. Arizona’s intense sun causes repeated heating and cooling of exterior walls. Minor movement and surface aging can show up first in the finish coat.
Signs that deserve prompt evaluation include:
- A crack that is wide enough to cast a visible shadow or has offset edges
- Cracks radiating from window or door corners
- Brown, dark, or rusty-looking stains beneath openings or roof edges
- White, chalky mineral deposits, called efflorescence, left when moisture evaporates through masonry materials
- Blistered paint, peeling coating, or a patch that stays discolored after dry weather
- Stucco that sounds hollow when lightly tapped, feels soft, crumbles, or bulges
- Repaired areas that crack again in the same location
- Damage concentrated where sprinklers regularly wet the wall or soil has built up against the stucco
A crack’s location often tells the story. A vertical hairline in an open wall field may be a finish-coat issue. A diagonal crack from a window corner can reflect movement or stress concentrated at the opening. Horizontal cracking near the base of a wall may be tied to moisture exposure, soil contact, or inadequate clearance. The right response depends on the pattern and the wall condition behind it, not crack width alone.
What stucco repair method is right for the damage?
The right stucco repair method matches the depth, movement, moisture history, and bond condition of the damaged area rather than treating every flaw with the same filler.
A ready-to-use patch product can be appropriate for a very small, shallow cosmetic defect, but it is not automatically the best choice for every exterior crack or hole. Deep repairs need enough body, adhesion, and cure time to perform as part of a cement-plaster wall. Larger failures may require exposing and securing lath before base coats are applied.
| Condition you can see | Appropriate repair approach | Key decision criteria | Why a shortcut fails |
|---|---|---|---|
| Fine surface checking with no staining or movement | Clean, treat compatible hairline cracks, and blend texture before coating | Crack is confined to the finish coat and substrate is solid | Heavy patching can leave obvious smooth spots and may crack at the edges |
| Small chip or shallow hole | Remove weak edges, patch in thin compatible layers, and recreate texture | Patch depth is limited and surrounding stucco is firmly bonded | Filling over dust or loose crumbs leads to poor adhesion |
| Open crack with clean, stable edges | Prepare the crack, use a repair material suited to expected movement, then texture and coat | Crack is dry, not widening, and not caused by active intrusion | Rigid material across an active movement joint commonly reopens |
| Hollow, loose, bulging, or crumbling section | Remove stucco to sound material; inspect substrate and lath; rebuild base and finish layers | Bond failure extends beyond the visible crack | Skimming over delamination traps a failed layer beneath new paint |
| Stains, efflorescence, or repeated damage near an opening | Correct flashing, sealant, drainage, or irrigation issue first; allow the area to dry; then repair | Water source has been identified and eliminated | A new patch will fail if bulk water still enters behind the wall |
Texture matching is a real part of the work. A structurally sound patch can still look unfinished if its sand profile, knockdown, lace, dash, or other texture does not blend into the surrounding wall. On a repaint project, consistent preparation and full-wall coating help reduce visual contrast, but paint will not hide a raised patch edge or a mismatched texture pattern.

Why should stucco repair be completed before exterior painting?
Stucco repair must be completed before exterior painting because paint adheres and protects best on dry, clean, sound plaster with repaired cracks and stable edges.
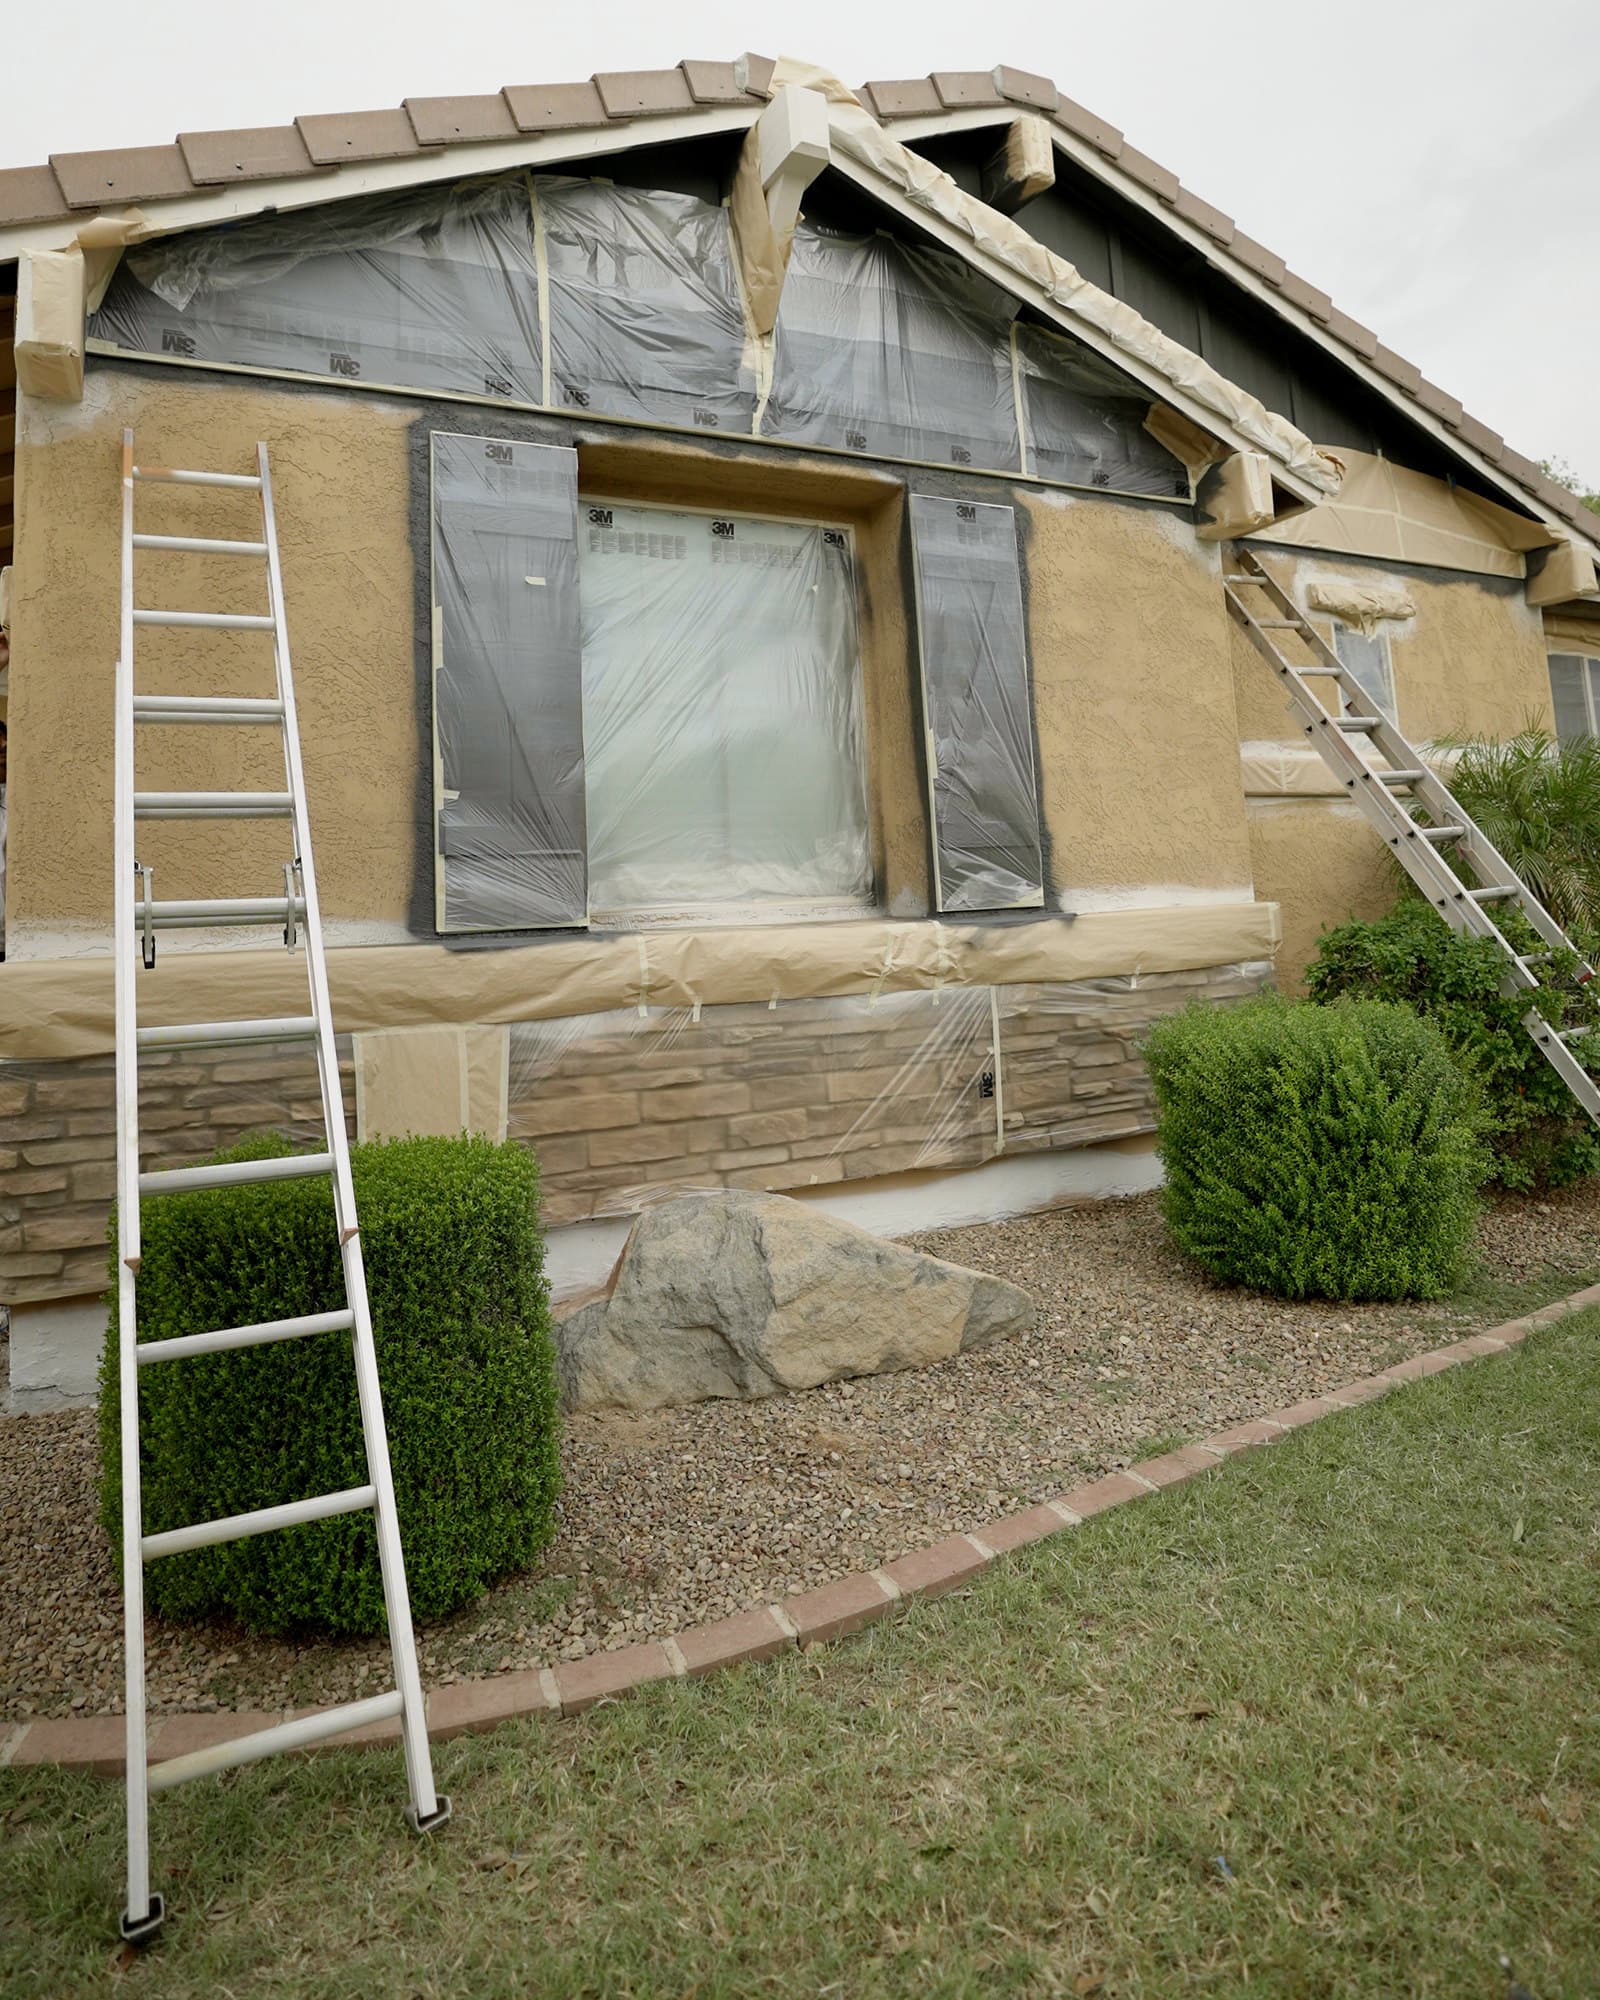
Exterior paint is a coating system, not a structural repair material. If paint bridges a loose edge, the failed stucco can detach with the coating. If paint is applied over a damp repair, trapped moisture can contribute to blistering, staining, and early coating failure. If a crack remains open, rainwater can bypass the paint film altogether.
The sequence matters:
- Inspect the wall and identify moisture sources. Check roof transitions, windows, door penetrations, wall caps, ground clearance, and irrigation spray.
- Remove failed material. Loose stucco should be taken away until the remaining edges are firmly bonded. A hammer and chisel may be appropriate for controlled removal on a localized failure, but aggressive demolition can damage sound surrounding plaster or hidden components.
- Repair the wall system. Refasten or add lath where the repair exposes deficient reinforcement, rebuild base material as needed, and apply a compatible finish texture.
- Allow proper curing and drying. Cement-based repairs need time to harden and release moisture. The repair should not feel damp or show dark moisture variation before coating.
- Clean and prepare the full exterior. Remove dirt, chalking, salts, loose paint, and overspray. Address failed sealant at transitions where a flexible joint is needed.
- Apply the selected exterior coating. The coating must suit the existing painted surface and the home’s exposure. For more planning guidance, see our Arizona exterior repainting guide and our overview of how long exterior paint lasts.
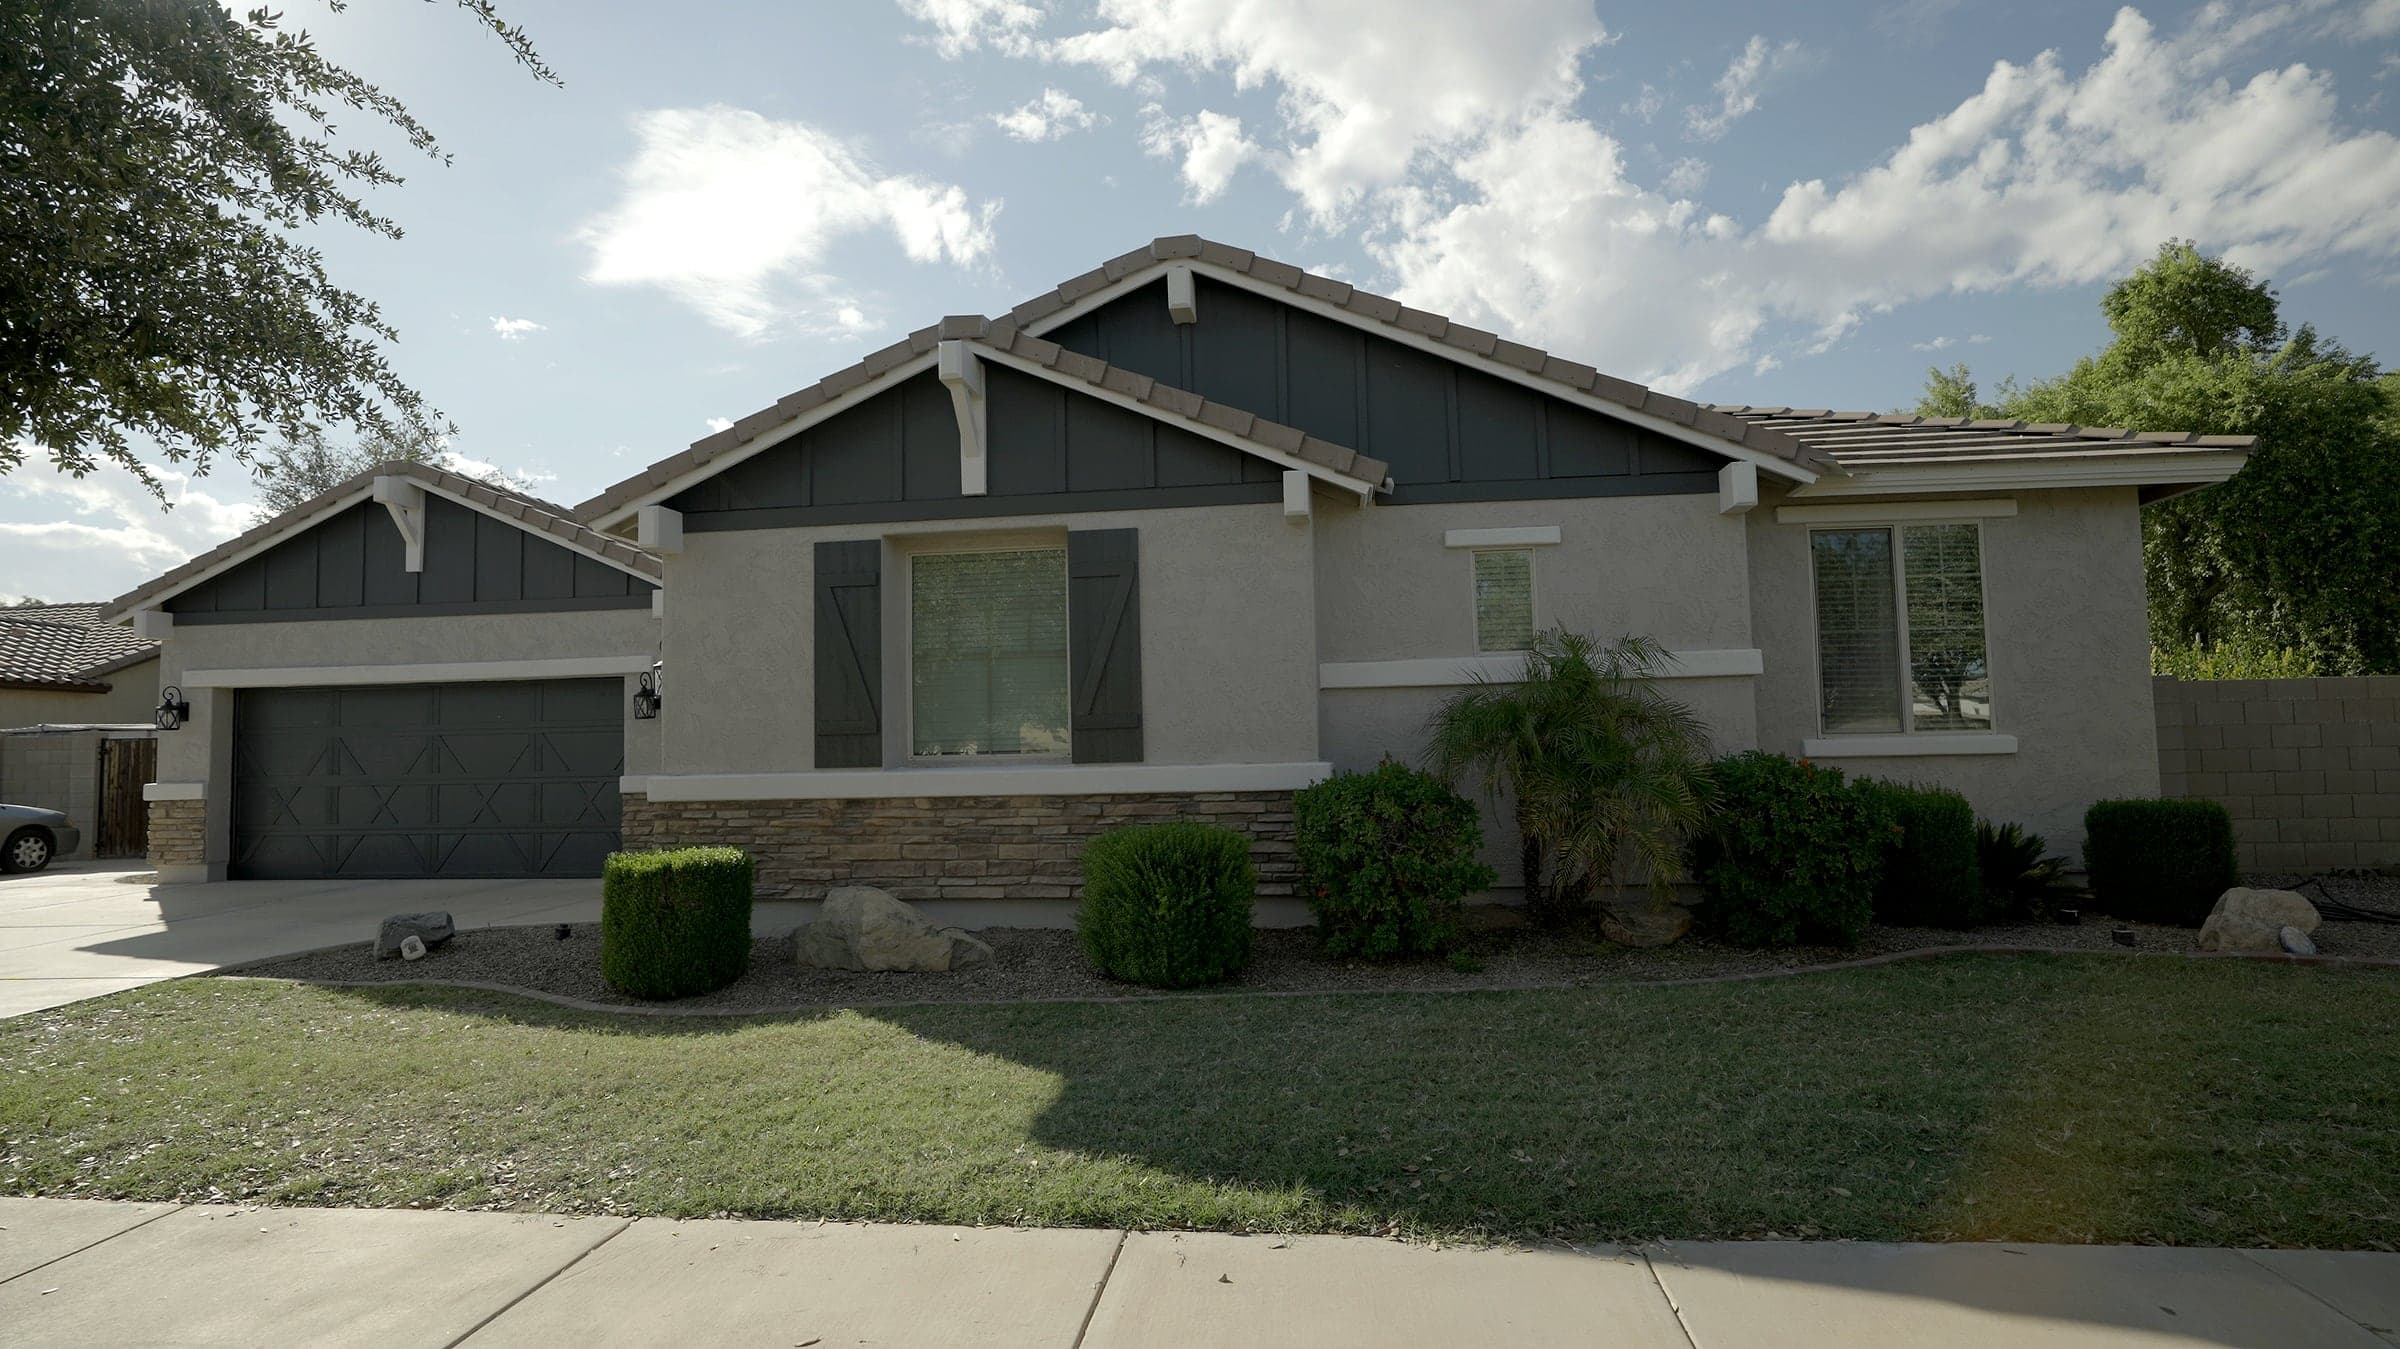
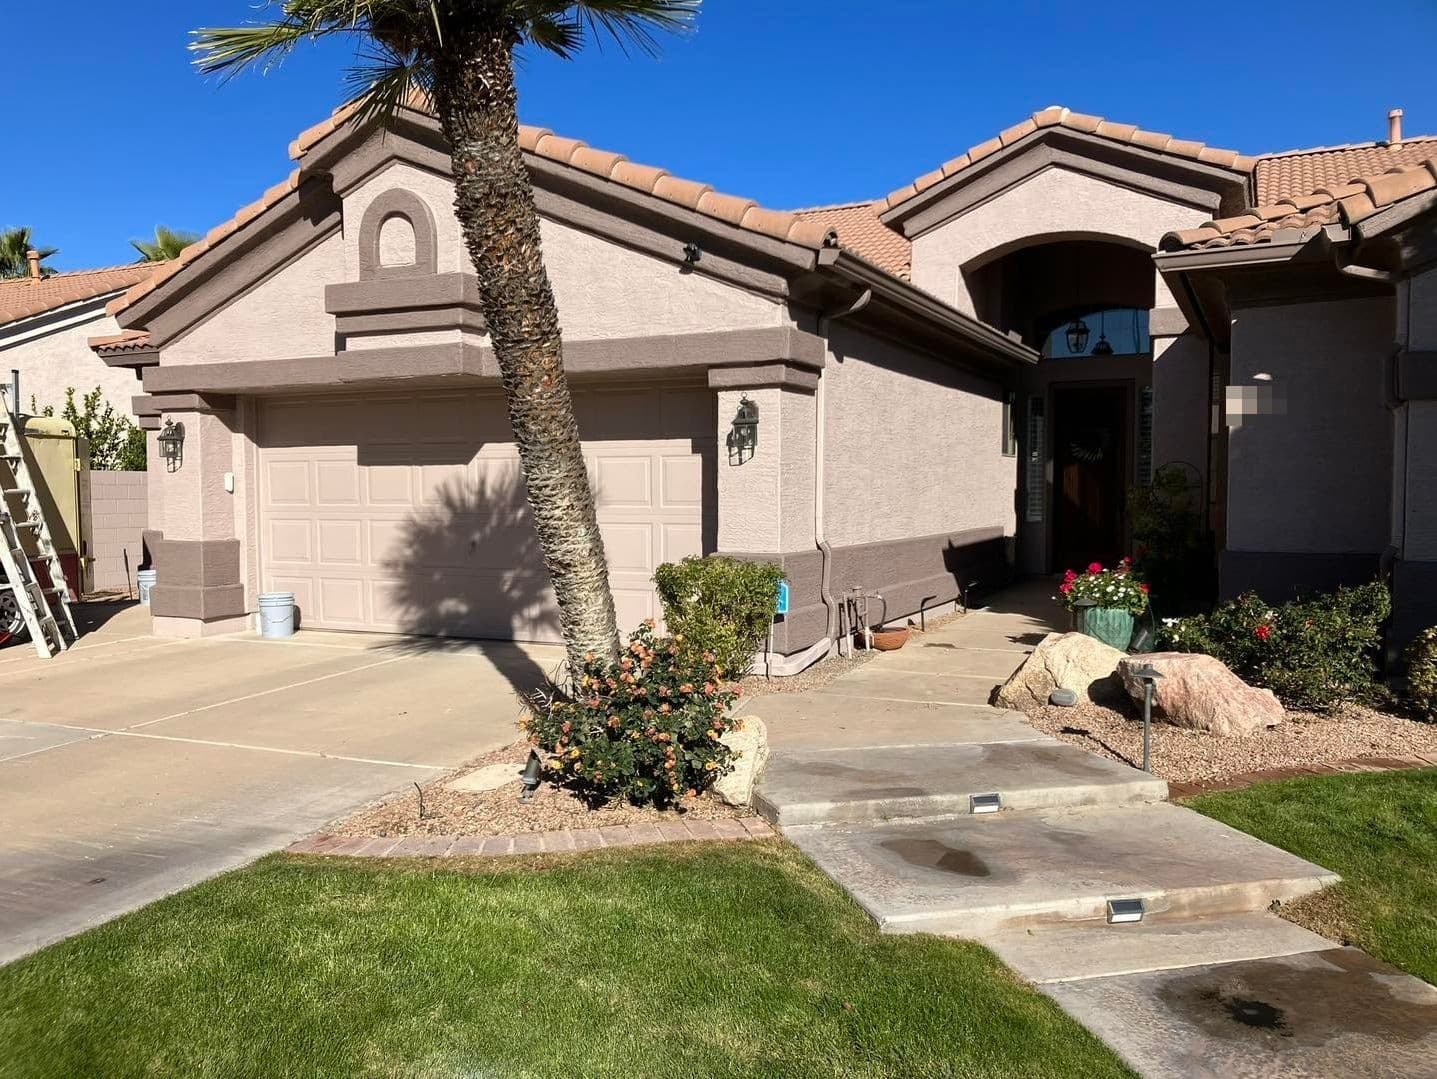
Arizona exteriors face ultraviolet exposure, monsoon rain, windblown dust, and large daily temperature swings. Thorough preparation is the difference between a paint job that looks fresh briefly and a coating system that protects the home over time. iPaintHomes evaluates the surface condition before painting so repair work is not treated as an afterthought.
What should East Valley homeowners inspect before booking stucco repair?
East Valley homeowners should inspect exterior walls after monsoon weather, before repainting, and whenever stains, cracks, or sprinkler exposure appear.
Walk the home methodically and take clear photos from a few feet away and up close. Note whether damage is on one exposure, beneath a particular roofline, or near a window. Check whether the area changes after rain or irrigation. These details help distinguish a localized impact repair from a drainage or moisture issue.
Pay special attention to landscaping. Sprinkler heads that spray a stucco wall repeatedly can keep the lower wall wet and leave mineral deposits. Soil, mulch, or decorative rock placed too high against the wall can also conceal the lower edge of the stucco and promote persistent moisture exposure. Redirect water before repair work begins.
Avoid probing a suspicious area aggressively or sealing cracks with an unknown product just to make them disappear. A temporary seal may obscure evidence of a water path and complicate a proper assessment. Small dry surface repairs can be manageable for a skilled homeowner, but hollow areas, recurring cracks, stains, or any suspected leak deserve professional diagnosis.
How much does professional stucco repair cost in Arizona?
Professional stucco repair cost depends on the repair area, damage depth, accessibility, texture matching, substrate condition, and whether water intrusion or lath repair must be corrected.
A small dry chip is fundamentally different from a stained wall section around a second-story window. The visible patch size does not always reflect the scope of the repair. A localized crack may need only surface preparation and blending, while a hollow section may require removal, lath work, layered plaster replacement, curing time, and finish matching. A site evaluation is the practical way to distinguish a simple surface patch from work involving the wall system.
The least expensive-looking option is not always the best value. Covering a moisture problem with patch and paint can create a larger repair later. A detailed assessment should explain what is being repaired, whether an underlying source has been identified, how the texture will be blended, and what surface preparation is included before paint.
For homeowners planning a complete repaint after repairs, our guide to exterior house painting costs in Arizona explains the broader factors that shape an exterior project.
If you see cracking, staining, loose stucco, or failed patches on your East Valley home, contact iPaintHomes — (480) 232-5474 for a personalized exterior evaluation and a repair-and-repaint plan built for durable results.
Frequently asked questions
Can you do stucco repair yourself?
You can handle a very small, dry, cosmetic stucco chip yourself if the surrounding material is solid, but cracks with staining, hollow areas, recurring failure, or suspected moisture need professional evaluation before patching.
How much does a stucco repair cost?
Stucco repair cost varies with the size and depth of damage, access, texture matching, lath or substrate repairs, and whether a moisture source must be corrected before the patch is installed.
What is the best product to patch stucco?
The best stucco patch is a compatible exterior repair material selected for the repair depth and condition; shallow cosmetic defects and deep cement-plaster repairs do not require the same product or application method.
Why is stucco repair so expensive?
Stucco repair can cost more than expected because durable work often requires removing failed material, addressing moisture causes, repairing reinforcement or substrate issues, applying multiple layers, allowing cure time, and matching the existing texture.
Should hairline stucco cracks be repaired before painting?
Hairline stucco cracks should be evaluated and treated before painting because coating over open cracks can leave a visible line and may allow water to reach the wall if the crack grows or penetrates beyond the finish coat.
Can you paint over a stucco patch?
You can paint over a stucco patch after it is fully cured, dry, clean, firmly bonded, and texture-matched, but painting too soon can lead to poor adhesion, color variation, or moisture-related coating failure.
How can you tell if water is behind stucco?
Possible signs of water behind stucco include persistent staining, efflorescence, peeling paint, soft or crumbling plaster, hollow areas, repeated cracking, and damage concentrated below openings, roof transitions, or irrigation spray.
Does exterior paint fix damaged stucco?
Exterior paint does not fix damaged stucco because paint cannot reattach delaminated plaster, rebuild missing material, correct lath failure, or stop an active leak; the wall must be repaired and dried before coating.